AI background removal estimates the boundary between a subject and its background. That boundary is not always clear. Hair, glass, shadows, low contrast, and compressed images can all make the result look rough.
This guide explains why background removal fails and how to choose better photos for Nukkimon.

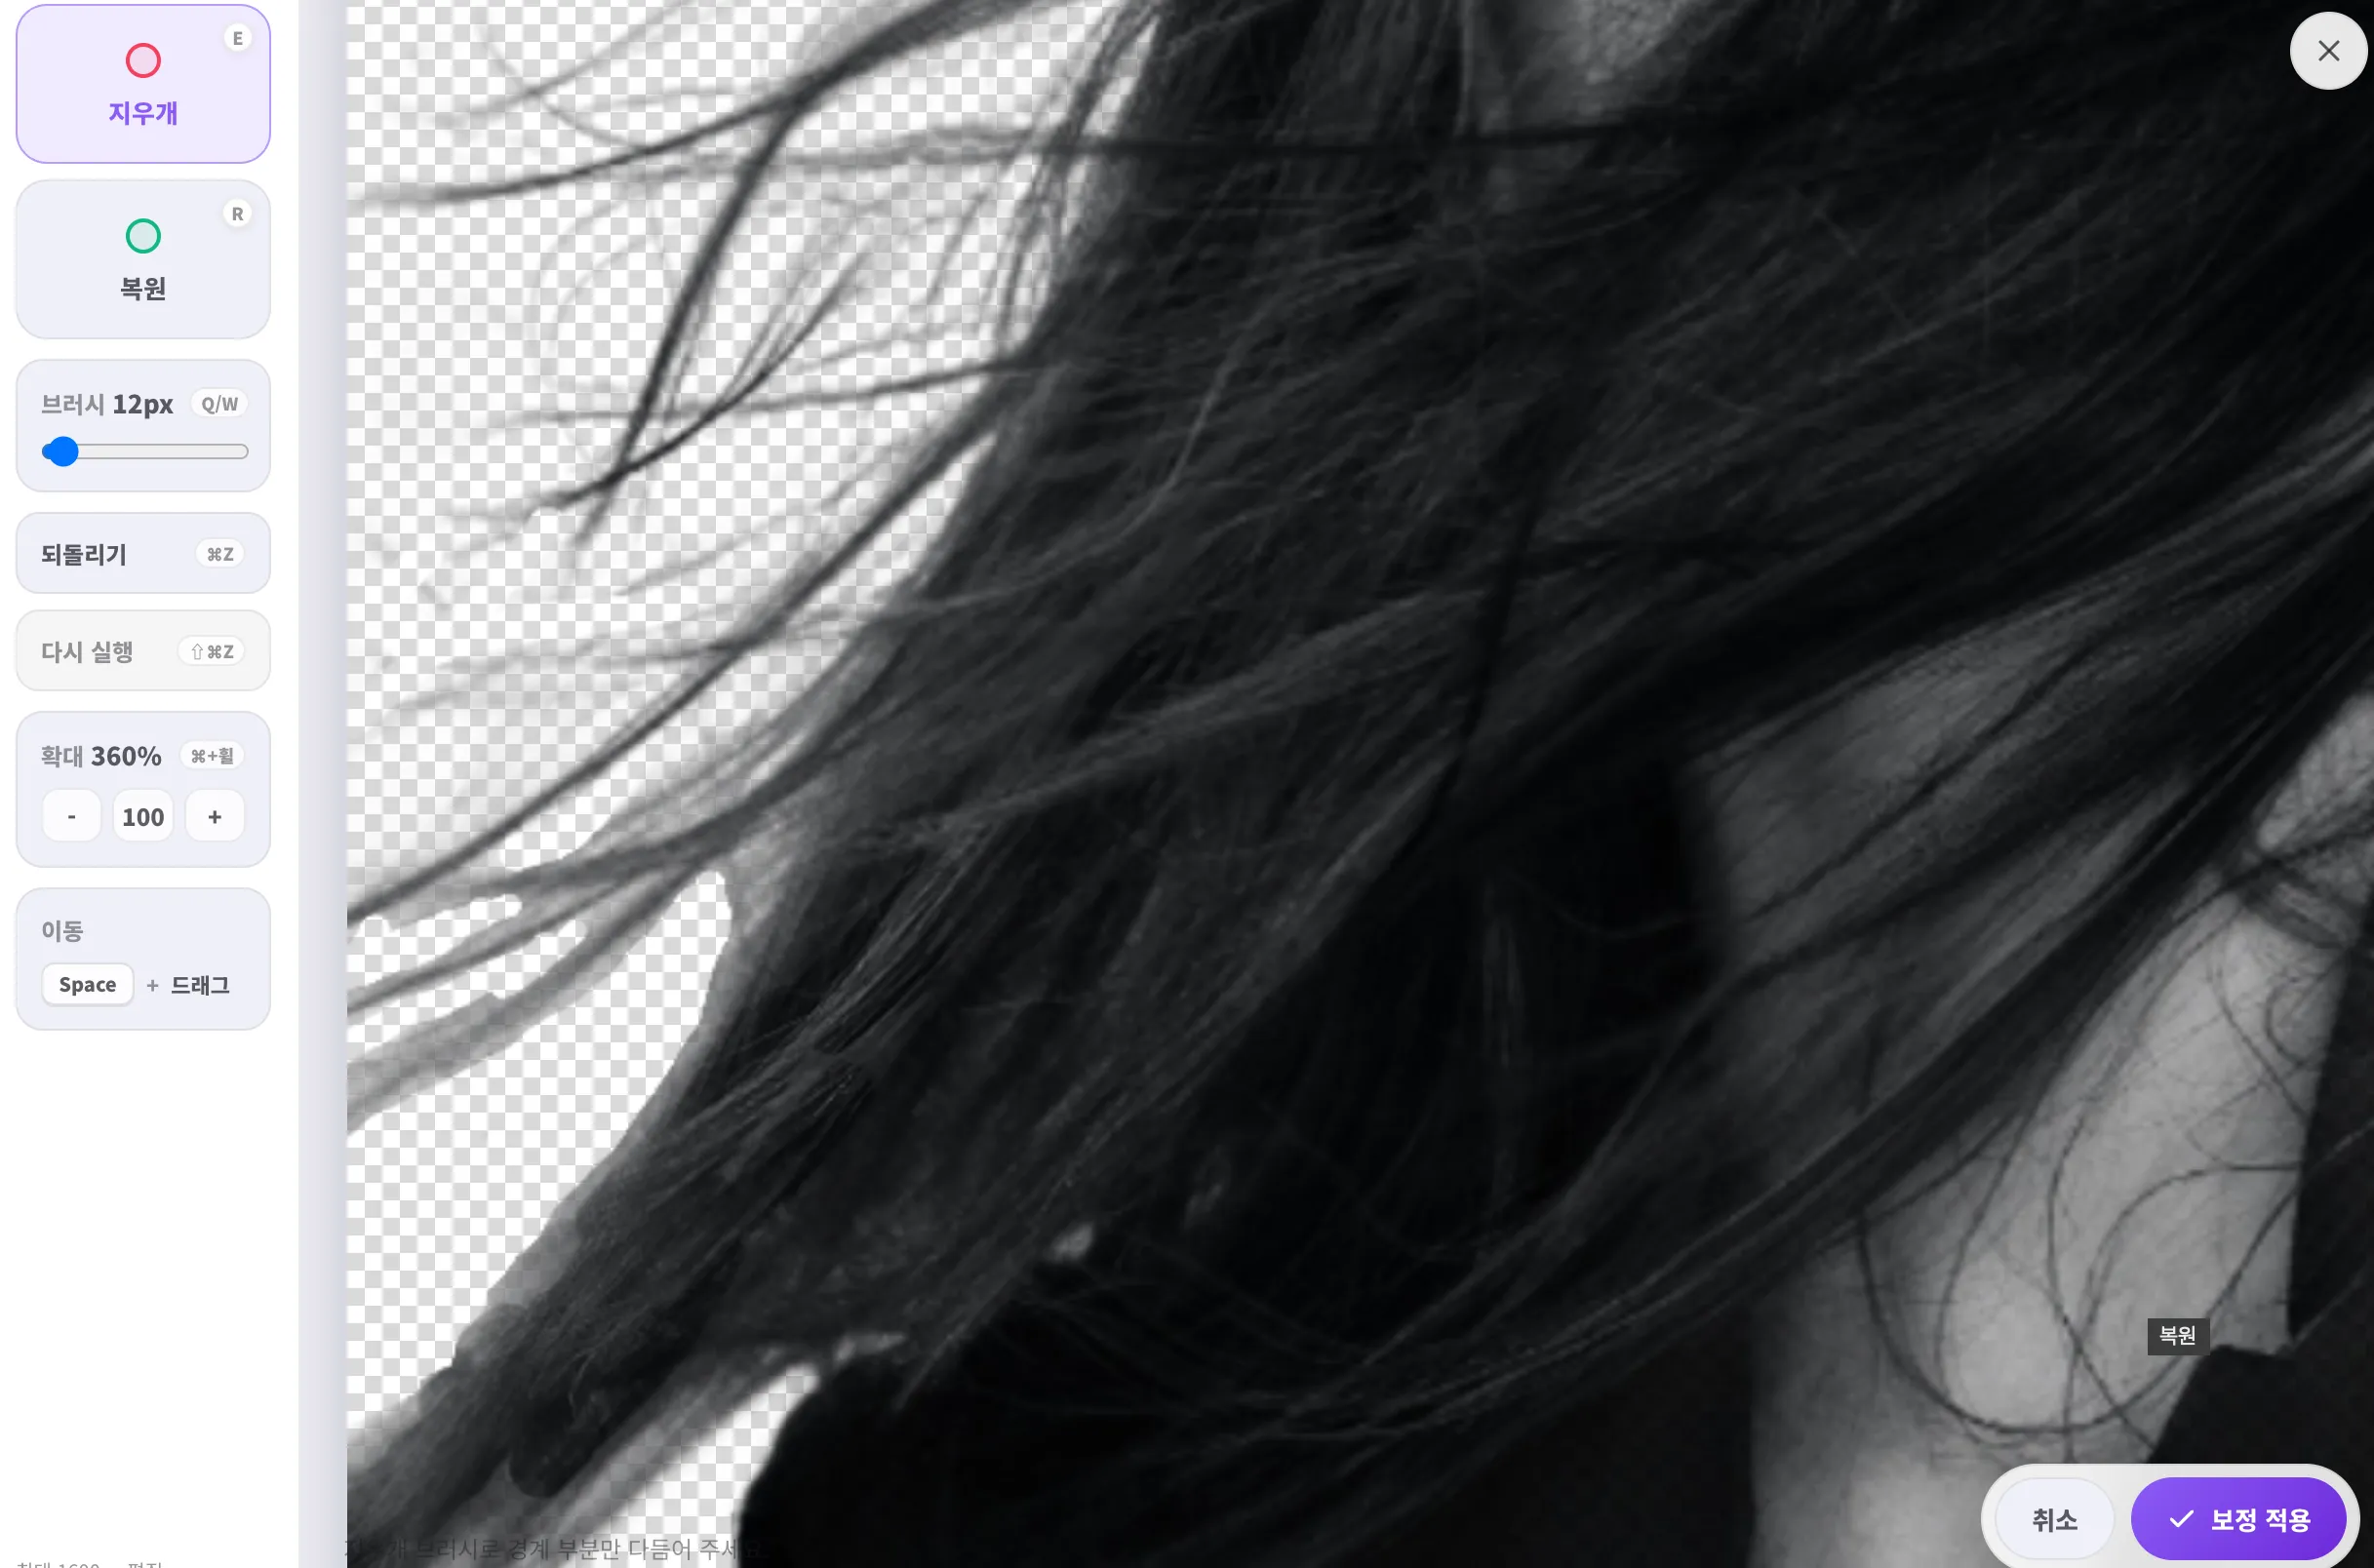
Hair is difficult
Hair is thin, semi-transparent in places, and often mixed with the background. Backlit hair, dark indoor photos, and busy backgrounds make the separation much harder.
Better conditions:
- strong contrast between hair and background
- enough light around the head
- simple background
- sharp focus without motion blur
If the result is almost good, use the eraser and restore brush instead of starting over.
Glass and transparent objects are hard
Glass, water, clear plastic, and translucent packaging are difficult because the background is visible through the object. The edge may exist, but the inside contains background colors.
For these subjects, a clean light-gray or white setup often works better than trying to create a perfectly transparent cutout.
Shadows can be treated as part of the subject
Shadows add depth in product photos, but background removal tools can interpret them as part of the object or leave them as dirty patches.
To reduce this problem:
- use softer lighting
- move the product away from the wall or floor background
- reduce harsh side shadows
- keep the background simple
Low contrast reduces accuracy
If the subject and background are similar colors, AI has less information to separate them. A white shirt on a white wall or a black product on a dark table will often produce rough edges.
Try:
- light products on mid-tone or darker backgrounds
- dark products on light backgrounds
- simple backgrounds instead of patterns
- angles that show the full outline of the product
Low resolution and compression damage edges
Images sent through messaging apps or social platforms may already have blurred edges and compression artifacts. Hair, logos, fabric threads, and small product details can disappear before the tool even starts.
Use the original camera file or a high-resolution copy whenever possible. If the image is too dark, adjust brightness before background removal.
Good photo checklist
- Clear contrast between subject and background
- Sharp focus with minimal motion blur
- Simple background
- Enough light around the subject edge
- Full subject visible inside the frame
- High-resolution original file
- No strong shadows crossing the boundary
What to do when the result is almost good
If only small areas are wrong, manual refinement is faster than retaking or reprocessing. Use Nukkimon’s eraser editor to remove leftover background and restore missing subject details.
For important product images, profile photos, or submission images, always inspect the edge before downloading.
Related resources
FAQ
Why does hair look rough after background removal?
Hair is thin and often blends with the background. Good lighting and strong contrast make it easier for AI to separate.
Why does glass not become cleanly transparent?
Transparent objects contain background colors inside the object, so there may not be a clear subject/background boundary.
Can manual editing fix every image?
No. Manual cleanup helps with small mistakes, but blurry or low-contrast originals may need to be retaken.