AI background removal can do most of the work, but the last few percent often decide whether the image looks professional. Small background fragments near a product edge, soft hair details, or a part of the subject that AI removed by mistake all need human judgment.
Nukkimon’s Refine with eraser editor is built for that final cleanup step. You can use it with buttons, but on desktop the keyboard shortcuts and zoom controls make the workflow much faster.
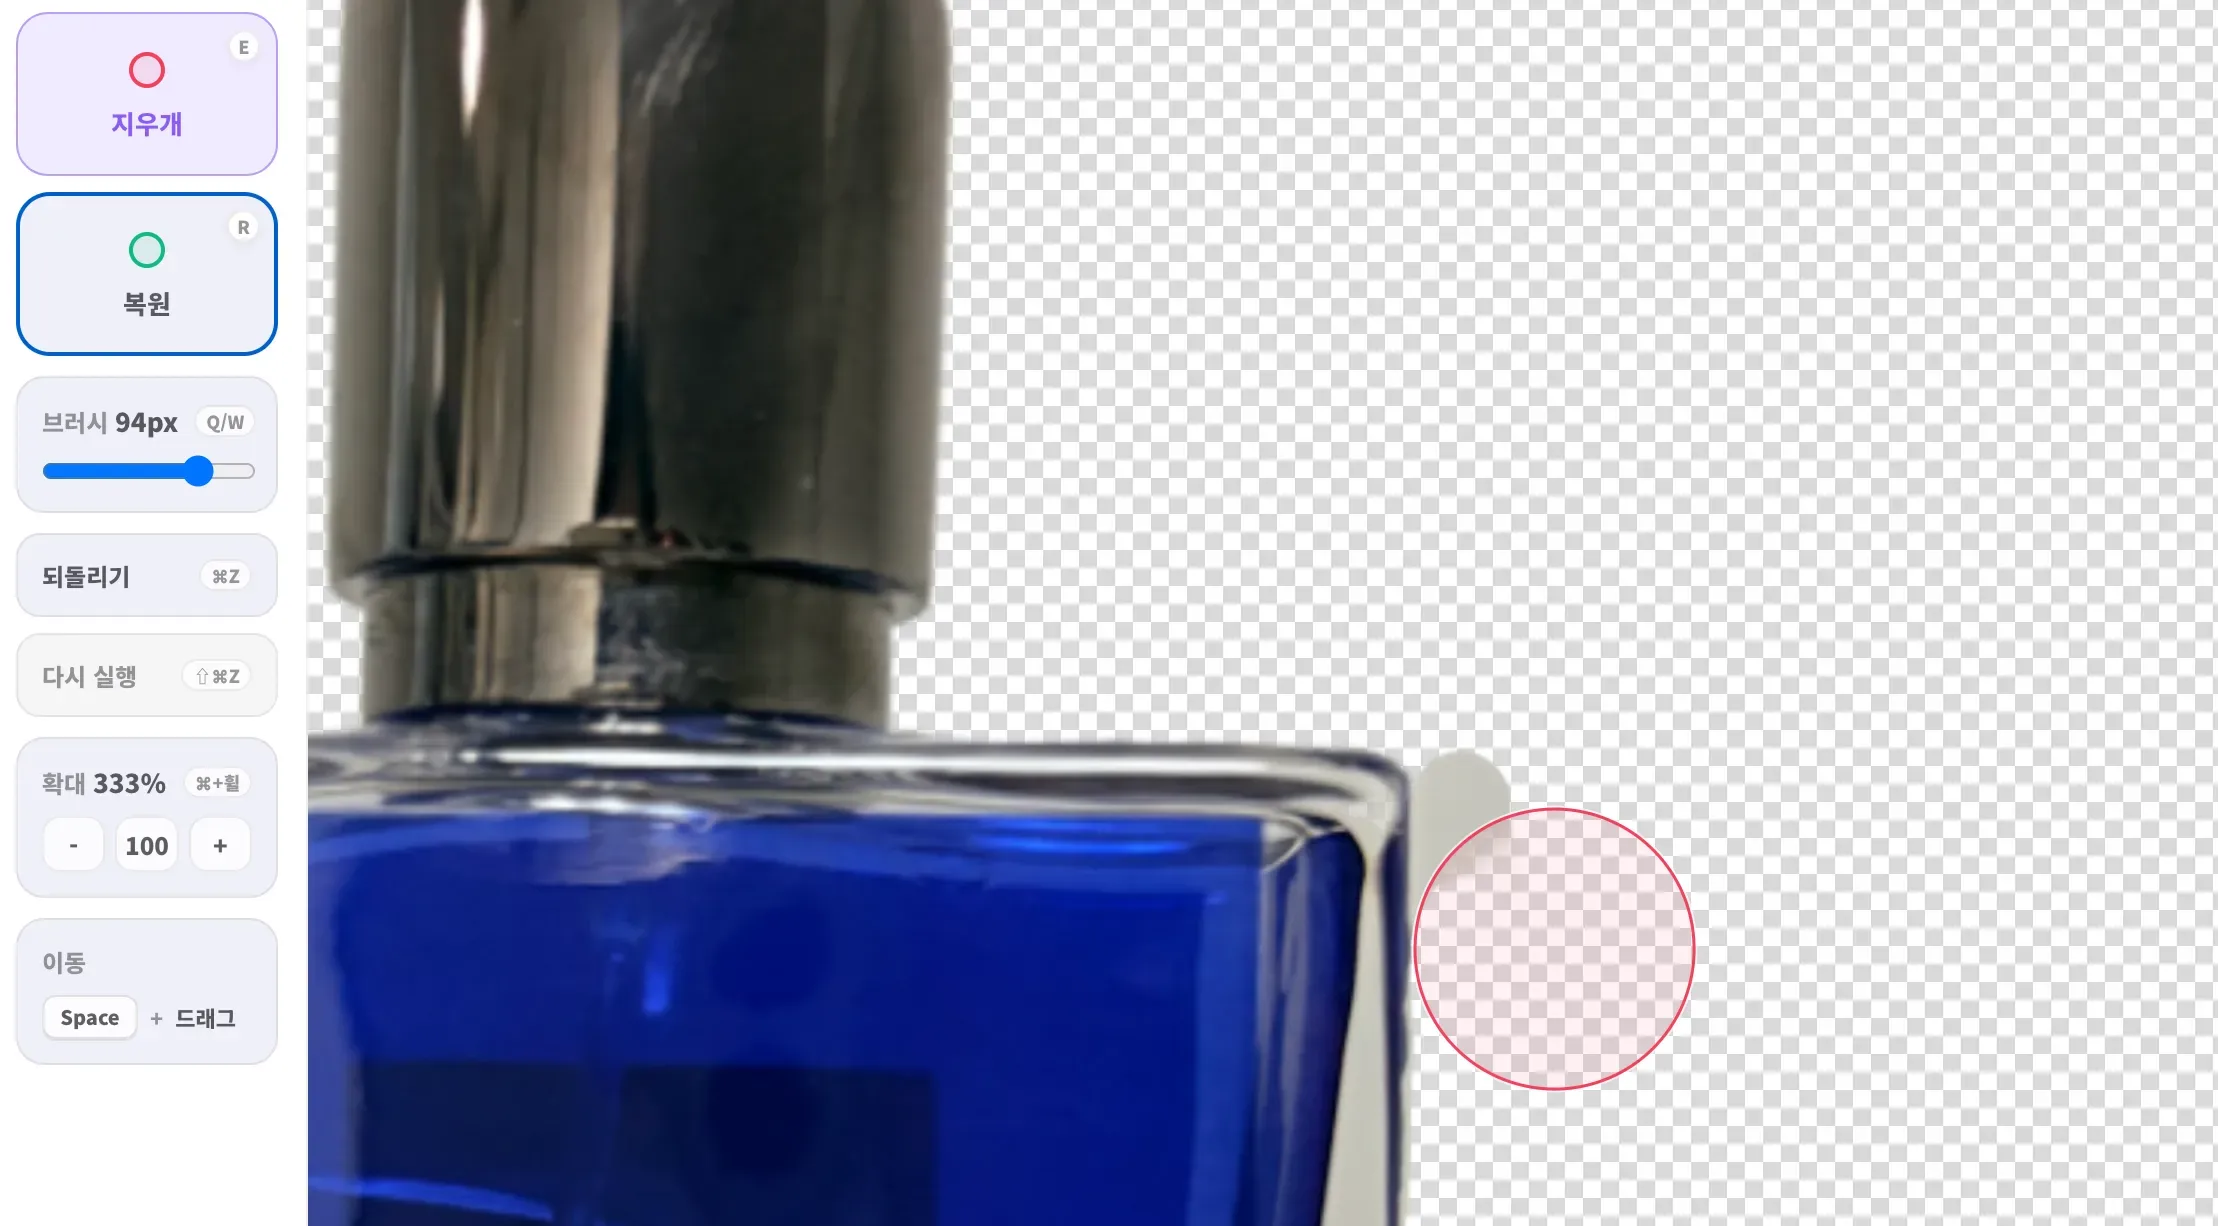
Shortcut overview
| Action | Shortcut | What it does |
|---|---|---|
| Eraser | E | Makes leftover background transparent |
| Restore | R | Brings back subject areas from the original image |
| Smaller brush | Q | Helps with tight edges and hair details |
| Larger brush | W | Cleans wider background areas faster |
| Zoom | Ctrl/Cmd + wheel | Zooms around the mouse position |
| Pan | Space + drag | Moves around the zoomed canvas |
| Undo | Ctrl/Cmd + Z | Reverts the last edit |
You do not need to memorize everything. Start with E, R, and Q/W. The rest becomes natural once you edit a few images.
Use E and R together
The editor has two core modes:
- Eraser (E) removes remaining background and makes it transparent.
- Restore (R) brings back parts of the subject from the original image.
For example, if background remains inside a product handle, press E and erase it. If part of the product edge or hair disappeared, press R and paint it back. Most cleanup work is simply switching between those two modes.
Change brush size with Q and W
Brush size matters. A large brush is fast, but it can remove the subject near the edge. A small brush is slower, but it is safer for details.
- Use W for wide leftover background.
- Use Q near the subject edge.
- Use a small brush for hair, fur, strings, handles, and thin fabric details.
When the brush approaches the subject edge, make it smaller before painting. That habit prevents most accidental damage.
Zoom around the exact edge you are editing
For detailed work, zooming is usually faster than guessing at full size. Hold Ctrl on Windows or Cmd on Mac, then scroll the mouse wheel. Nukkimon zooms around the mouse position, so the edge you are inspecting stays in view.
A good workflow:
- Move the cursor over the problem edge.
- Hold Ctrl or Cmd and zoom in.
- Adjust brush size with Q/W.
- Use E or R to clean the edge.
- Hold Space and drag to move to the next area.
Pan with Space + drag
After zooming in, the whole image will not fit on screen. Hold Space and drag the canvas to move around. When you release Space, you return to the active eraser or restore mode.
This is especially helpful for product photos where you need to inspect the entire outline before downloading.
Recommended cleanup order
- Start with the full image and find obvious problem areas.
- Remove large leftover background with a medium or large eraser.
- Zoom in around the subject edge.
- Use a smaller brush near hair, fabric, or product details.
- Restore any subject area that was removed by mistake.
- Zoom out and check the result on both transparent and white backgrounds.
Common mistakes to avoid
- Using a brush that is too large near the subject edge.
- Editing without zooming in.
- Downloading before checking white halos around the edge.
- Trying to fix a blurry original that should be retaken.
- Over-erasing hair or fur until the cutout looks unnatural.
When to retake the photo instead
Manual cleanup is useful, but it cannot fully repair a poor original. If the subject is blurry, the background is the same color as the subject, or the edge is hidden by strong shadows, retaking the photo may be faster than editing.
For better input photos, see why AI background removal fails.
FAQ
Does the eraser work on mobile?
Yes, but detailed edge cleanup is easier on desktop because keyboard shortcuts, mouse wheel zoom, and a larger screen give more control.
Can I undo edits?
Yes. Use Ctrl/Cmd + Z, or the undo control in the editor.
Should I edit every image manually?
No. Use manual refinement only when the AI result has visible edge problems or when the image will be used in a professional context.